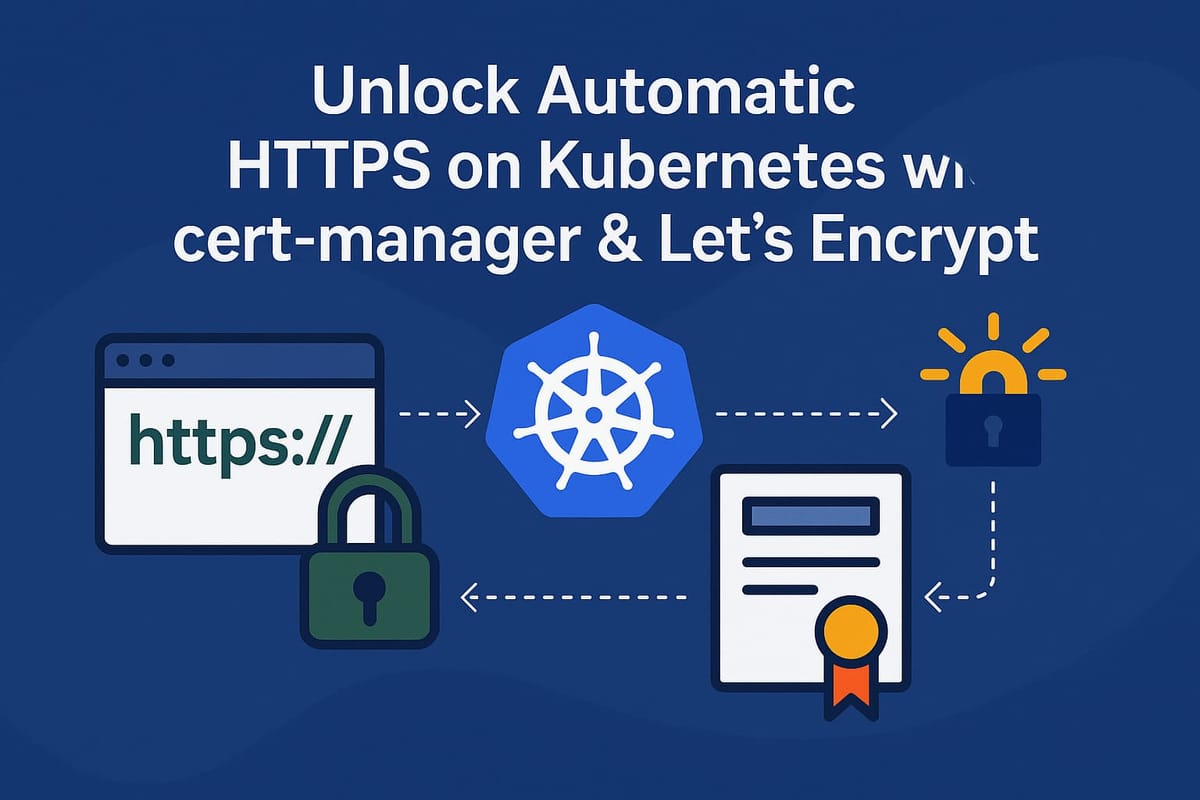
Ensuring your web services are served over HTTPS is crucial for security and user trust. While Kubernetes makes deploying services easier, managing TLS certificates – requesting, configuring, and especially renewing them – can become a tedious manual task. Thankfully, there's a very popular solution in the Kubernetes ecosystem named cert-manager !
It is a powerful Kubernetes tool that automates the management and issuance of TLS certificates from various sources, including the popular free provider, Let's Encrypt. It integrates directly with Kubernetes resources like Ingress, automatically provisioning and renewing certificates as needed. This means you can configure HTTPS for your services once and let cert-manager handle the rest.
In this post, we'll walk through setting up cert-manager using Helm and configuring it to issue Let's Encrypt certificates using both HTTP01 and DNS01 challenges.
Prerequisites:
- A Kubernetes cluster up and running.
- Helm installed on your local machine or wherever you manage your cluster.
- kubectl configured to interact with your cluster.
- An Ingress controller (like ingress-nginx or Traefik) installed and configured in your cluster. I'll be using ingress-nginx for this example.
- A DNS record pointing to your ingress resource's public IP address.
Step 1: Install cert-manager Helm Chart
First, we need to install cert-manager into our cluster. The recommended way is using their official Helm chart.
helm repo add jetstack https://charts.jetstack.io
helm repo update
helm install \
  cert-manager jetstack/cert-manager \
  --debug \
  --namespace cert-manager \
  --create-namespace \
  --set crds.enabled=true
This command installs cert-manager, its webhook components, and a CA injector into the cert-manager namespace. Wait a few moments for the pods to become ready.
Step 2: Configure Let's Encrypt ClusterIssuer
cert-manager uses Issuer or ClusterIssuer resources to represent certificate authorities. Issuer is namespaced, while ClusterIssuer is cluster-wide. We'll create ClusterIssuer resources so they can be used from any namespace.
Let's Encrypt offers two main challenge types to verify domain ownership:
- HTTP01: Verifies ownership by making an HTTP request to a specific path on your domain. Requires your service to be reachable externally via an Ingress.
Create a file named letsencrypt-http01.yaml:
# Staging cluster issuer
apiVersion: cert-manager.io/v1
kind: ClusterIssuer
metadata:
  name: letsencrypt
spec:
  acme:
    # You must replace this email address with your own.
    # Let's Encrypt will use this to contact you about expiring
    # certificates, and issues related to your account.
    email: [email protected]
    server: https://acme-staging-v02.api.letsencrypt.org/directory
    # Uncomment the following line for the poduction issuer
    #server: https://acme-v02.api.letsencrypt.org/directory
    privateKeySecretRef:
      # Secret resource that will be used to store the account's private key.
      name: letsencrypt-issuer-account-key
    # Add a single challenge solver, HTTP01 using nginx
    solvers:
      - http01:
          ingress:
            class: nginx
Apply the manifest file:
kubectl apply -f letsencrypt-http01.yaml- DNS01: Verifies ownership by checking for a specific TXT record in your domain's DNS zone. Doesn't require the service to be externally reachable but needs API access to your DNS provider. It's also required for wildcard certificates (e.g., *.example.com).
Create a file named letsencrypt-dns01.yaml:
# cloudflare-api-token-secret.yaml
apiVersion: v1
kind: Secret
metadata:
  name: cloudflare-api-token-secret
  namespace: cert-manager # Important: Needs to be in the cert-manager namespace
type: Opaque
stringData:
  api-token: <your_cloudflare_api_token> # Replace with your Cloudflare API Token
---
apiVersion: cert-manager.io/v1
kind: ClusterIssuer
metadata:
  name: letsencrypt
spec:
  acme:
    # You must replace this email address with your own.
    # Let's Encrypt will use this to contact you about expiring
    # certificates, and issues related to your account.
    email: [email protected]
    server: https://acme-staging-v02.api.letsencrypt.org/directory
    # Uncomment the following line for the poduction issuer
    #server: https://acme-v02.api.letsencrypt.org/directory
    privateKeySecretRef:
      # Secret resource that will be used to store the account's private key.
      name: letsencrypt-issuer-account-key
    # Add a single challenge solver, HTTP01 using nginx
    solvers:
    - dns01:
        cloudflare:
          email: [email protected] # Replace with your Cloudflare account email
          apiTokenSecretRef:
            name: cloudflare-api-token-secret
            key: api-token
Apply the manifest file:
kubectl apply -f letsencrypt-dns01.yamlIt's highly recommended to start with the Let's Encrypt Staging environment to avoid hitting rate limits while testing your configuration. Once you confirm everything works, you can switch to the Production environment.
Step 3: Requesting a Certificate via Ingress
The easiest way to get a certificate for a web service is by annotating its Ingress resource. cert-manager will watch for these annotations and automatically create the necessary Certificate resource.
Here's an example Ingress requesting a certificate using the staging HTTP01 issuer we created:
# example-ingress.yaml
apiVersion: networking.k8s.io/v1
kind: Ingress
metadata:
  name: my-service-ingress
  namespace: default # Or your application's namespace
  annotations:
    kubernetes.io/tls-acme: "true"
    # Specify the ClusterIssuer to use
    cert-manager.io/cluster-issuer: letsencrypt
    # Optional: Use 'cert-manager.io/issuer' for namespaced Issuers
    # Optional: Force redirect to HTTPS
    nginx.ingress.kubernetes.io/force-ssl-redirect: "true" # Specific to Nginx Ingress
spec:
  ingressClassName: nginx # Ensure this matches your Ingress Controller
  tls:
  - hosts:
    - my-app.example.com # Your domain
    secretName: my-app-tls-secret # cert-manager will create/update this secret with the cert
  rules:
  - host: my-app.example.com # Your domain
    http:
      paths:
      - path: /
        pathType: Prefix
        backend:
          service:
            name: my-app-service # Your backend service name
            port:
              number: 80 # Your backend service port
Apply the Ingress:
kubectl apply -f example-ingress.yaml -n defaultStep 4: Verify Certificate Issuance
cert-manager will now attempt to issue the certificate. You can monitor the process:
# Check the Certificate resource status
kubectl get certificate -n default my-app-tls-secret
kubectl describe certificate -n default my-app-tls-secret

# Check the CertificateRequest and Order status (useful for debugging)
kubectl get certificaterequest -n default
kubectl get order -n default
kubectl describe order <order-name> -n default # Get order name from CertificateRequest

# Check if the TLS secret was created
kubectl get secret -n default my-app-tls-secret
Look for Ready: True on the Certificate resource. If using the staging issuer, your browser might show a warning because the certificate is issued by an untrusted CA, but it confirms the process works. Once successful with staging, update the Ingress annotation to use your production ClusterIssuer and re-apply the Ingress manifest. cert-manager will then obtain a valid, browser-trusted certificate.
Congratulations! You've set up automated TLS certificate management in your Kubernetes cluster. cert-manager will now handle the issuance and renewal of certificates for your annotated Ingresses, keeping your services secure with minimal effort.
If you run into issues, the kubectl describe commands on Certificate, CertificateRequest, and Order resources, along with the cert-manager pod logs (kubectl logs -n cert-manager ), are invaluable for troubleshooting.
Thanks for reading! Feel free to leave comments if you have questions or run into problems.


Member discussion